Share
Pin
Tweet
Send
Share
Send
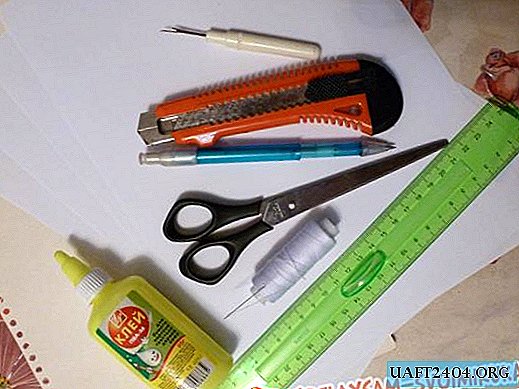
A4 sheets of paper;
a small piece of cardboard;
pencil;
ruler;
scissors;
stationery knife;
PVA glue;
needle and thread;
metal chain;
an awl or similar tool.
The first step is to prepare paper for the future filling of the book, namely the pages. To do this, using a knife and scissors, grind sheets of white paper into rectangles of 3 by 6 centimeters.

By the way, paper does not have to be white. It all depends on your chosen page colors. We fold the resulting leaves in half so that we get double pages 3 by 3 centimeters. Group them into small books of three.

Now, at the fold of each pack, we make holes at an equal distance from each other.

I did this procedure in two stages so that the pages did not move.

In total, I decided to stop at 5. Next, with the help of an ordinary needle and thread, we bind our miniature little books together by binding Koptsky.

If you know of any other binding option, you can use it. In the end, we get such a blank.

The final step is to thoroughly smear the resulting root with PVA glue and let it dry under pressure.

While our future book is drying, you can do its cover. To make it, I used plain cardboard and a small piece of print paper. To begin with, we cut out two pieces of cardboard, corresponding to the size of the pages, and one spine that is suitable for the parameters.

Using PVA, we glue them onto the beautiful paper chosen for the cover, leaving gaps.

Then we make such cuts on paper.

Now, tuck the remaining edges and glue.

In the part of the spine that will be on the top of the book, with any sharp object (I used the tool from the sewing machine to cut the threads), make a small hole and fasten the chain.

The most crucial moment comes. We combine the cover and the book. To do this, glue the spine of the book to the designated place on the cover. For better fastening, we also stick the extreme pages to the cover.

Thus, the problem of open joints of paper intended for cover is also solved. That's the beauty I got.

Since I chose plain paper for the cover, which can wear out over time, I smeared it right on top with PVA glue. When dried, this glue becomes transparent.

Getting to the decor. I decided to decorate the edges of my book with a volume contour of green color. (photo17) So that the book does not open constantly, I glued pieces of a metal chain to its crusts. Naturally, I didn’t use PVA and superglue for this action. (Photo18) Such a charm now flaunts on my keys.


Share
Pin
Tweet
Send
Share
Send

