Share
Pin
Tweet
Send
Share
Send
To make a handbag, you need to prepare the following materials:
- Plastic bottle;
- a flap of unnecessary tissue;
- tape or lace;
- eyelets (you can do without them);
- candle;
- needle;
- thin little elastic.
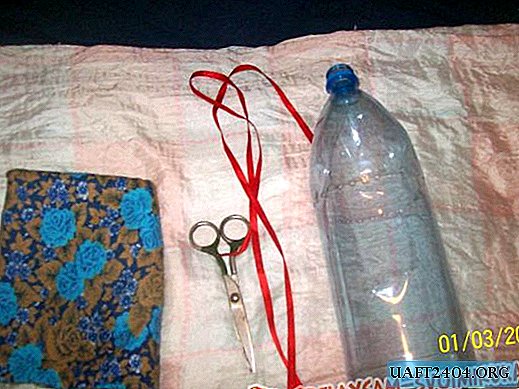
We begin to make handbags from a plastic bottle.
We take a plastic bottle, cut off the top, and then we put on an elastic band. We light a candle, on which we heat the needle. With a heated needle, we make holes at the level of the gum (the distance between them is 2 - 4 mm).

An elastic band is used to make the seam even. Determine the length of the fabric.

By the way, you can take one piece of fabric and make only up fabric in the bag, but if you take two pieces of fabric and hide the bottom of the bottle, the bag will look better. To cut off the required length of fabric, you can take a centimeter and measure the bottle, or you can simply measure with a cloth and cut the required amount.
Immediately prepare the bottom. To do this, sew the fabric, leaving it only un sewn up. We turn it out and put it on the bottle.


Now proceed to the top of the purse. We bend the fabric (on one side by 1 cm, and on the other hand, first by 0.5 cm, and then by three).


Next we need to make holes for the tape. Eyelets are needed for this, but if there isn’t just to sew them with suitable threads, then the eyelets will not be needed. In general, without them it will be no less beautiful.


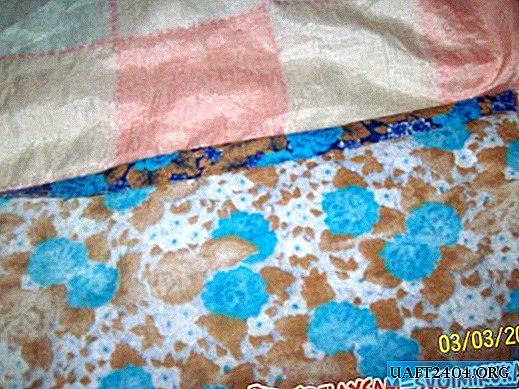
If you have a sewing machine at home, then creating a handbag will take you no more than an hour, and if you sew manually, it will take a little longer. Sew the fabric from the wrong side and twist.

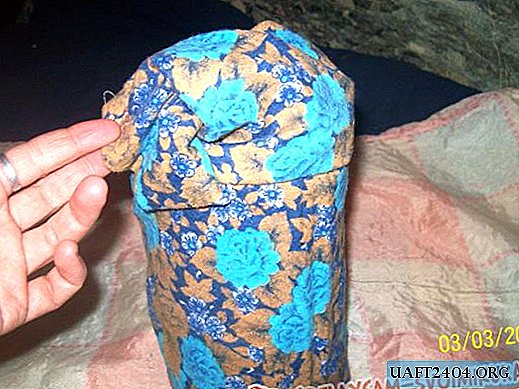
Now it’s time to sew the fabric onto the bottle, and that’s why we made holes on the bottle with a needle.


A bottle is needed for stiffness and to protect the handbag from sharp objects that can be stored in it. Both flaps of fabric should be sewn to the bottle at once, it will be more convenient and faster. At the same time, watch carefully so that in the end you can unscrew the upper part.

After that, pull the tape or cord into the prepared thin hole.

To make it quick and convenient, take a pin.
After that, take the guides and attach to both ends of the tape. As limiters, you can use two large beads. Fasten the beads so that they do not slip off the tape, one of the options, using knots.

At the end of the work, inspect your creation from all sides to make sure that there are no defects. If there are defects, they must be corrected, and only after that hand out such a precious gift to the child.
Whatever kind of crafts you make with your child, try so that the child takes part in this needlework. After all, nothing can unite a mother with a child like a common fun activity.


Share
Pin
Tweet
Send
Share
Send

