Share
Pin
Tweet
Send
Share
Send
The card has always been a distinctive sign of attention and a nice addition to the gift, which is so easy to cheer up. It is especially nice to get a handmade greeting card. If it is done with your own hands, then you can put a special meaning into it, choose exactly what will be pleasantly presented.

Since not everyone is strong in the style of design scrapbooking, which is most used in the manufacture of cards, and not everyone has the necessary elements for the design of such gifts, we offer an affordable option for everyone to make 3D cards using the origami technique, which will not be inferior to classical scrapbooking.
Prepare colored square stickers, A4 sheet of decorative cardboard, ribbons for packing flowers of green and white, curly sequins, mini-butterfly from paper or plastic, thermal radiation, scissors.
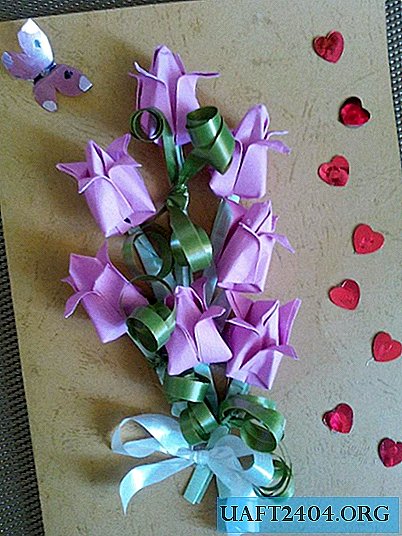
A card with a 3D effect is obtained due to volumetric tulips made using the origami technique.

Each tulip is obtained from a square piece of paper. The office color sticker is just the right size for this job.


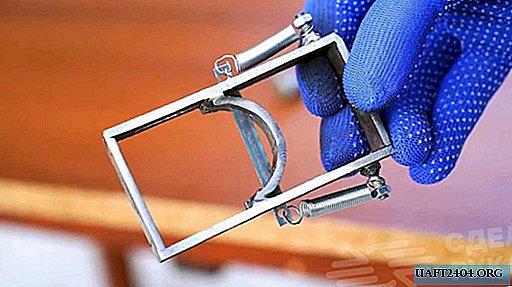
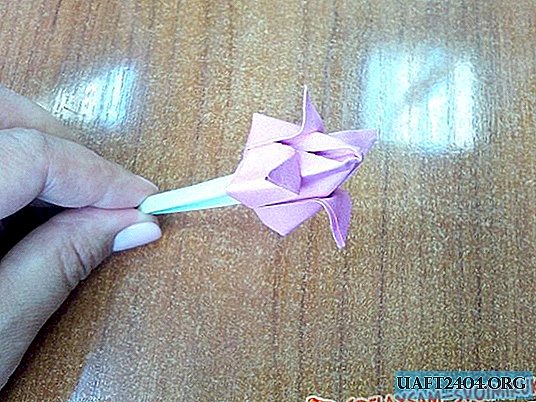
We add tulips according to the origami scheme. In the manufacture of such small flowers, it is difficult to give them volume. To do this, you can gently use a thin wooden stick or rod from the handle, sticking it into the hole of the folded box and straightening the side walls.


The stem for a tulip needs a simple, without a leaf. Just roll up the same green office sticker. Insert the stems into the hole of the flower.

Let's make 7 tulips.

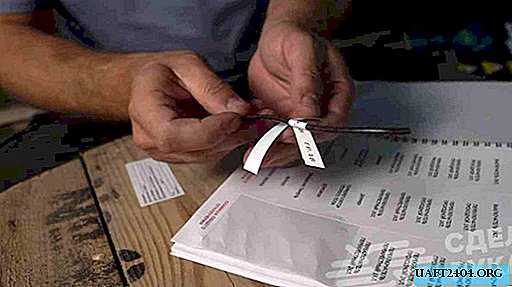
From green plastic tape, cut 4-7 segments of 20 cm. On tulips, tie the ribbons on the stems. If the tape is wide, divide the ends into two parts and twist them with scissors.
Next, you need to arrange the bouquet.

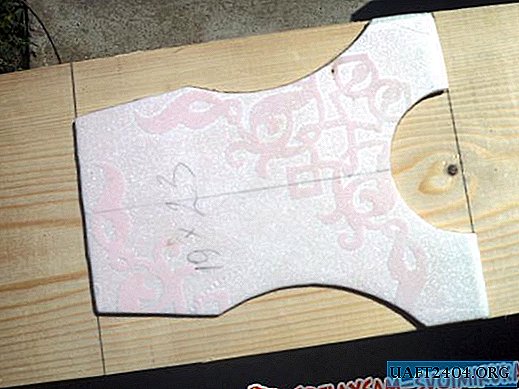
Fold a sheet of cardboard in half.


Place the origami tulips in the composition. If you are satisfied with the result, then with the help of hot glue, begin to fasten the flowers to the front surface of the folded cardboard sheet. Another glue for this work will not work, because flowers do not have a smooth surface for bonding.
When all the flowers are fixed in place, we tie a bow from any suitable ribbon in a contrasting color. We fix with hot glue at the base of the bouquet.

It’s worth adding a little sparkle to the card. Glue curly sequins along the edge of the card.

Well, then it remains to put congratulation, a picture, a photo, poetry inside the card.

The card turns out to be unusual and spectacular, making and presenting this is a pleasure.
Share
Pin
Tweet
Send
Share
Send