Share
Pin
Tweet
Send
Share
Send
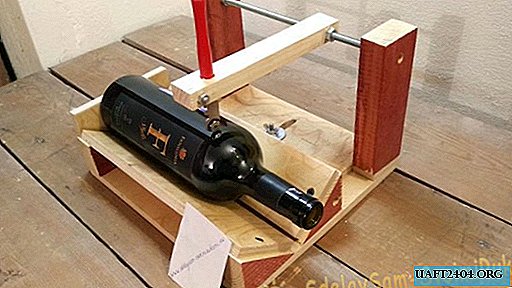
With a certain skill, even square bottles can be cut, as well as oval and other shapes. To do this, during the cutting process, adjustment is made for each sector of the bottle.
So let's get started!
Production is carried out from plywood 10 mm thick and wooden blocks of various sections: 15x30, 20x20, 30x50 mm. The necessary materials, cut into sizes, are presented in the photo below:
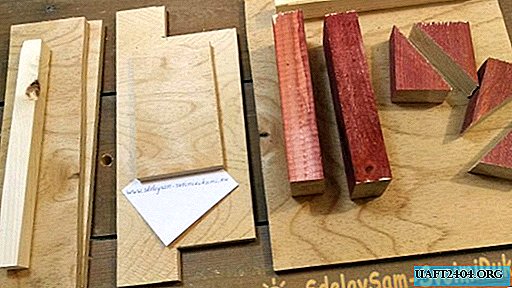
Of the tools I used a screwdriver, a drill, a jigsaw in conjunction with a homemade guide bed, a square, a tape measure and a hammer.
Step-by-step instructions for manufacturing the device:
1. To begin with, from the bar 30x50 mm, it is necessary to cut rectangular triangles with legs 50 and 70 mm.
And also two racks in which it is necessary to drill holes with an 8 drill.
2. On the plywood base, mark the position under the triangles of the bar.
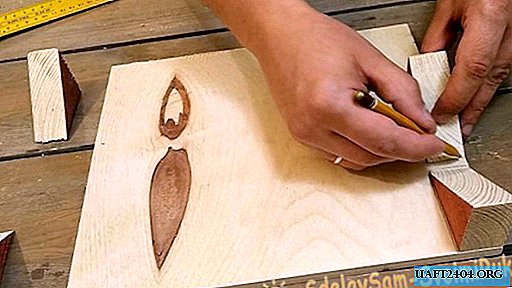
In marked areas, we drill holes for screws with chamfers to hide the caps of the screws. Ideally, it is better to drill such holes with combined drills with a vertical drill, but for lack of it I used a drill for metal with a diameter of 10 mm.
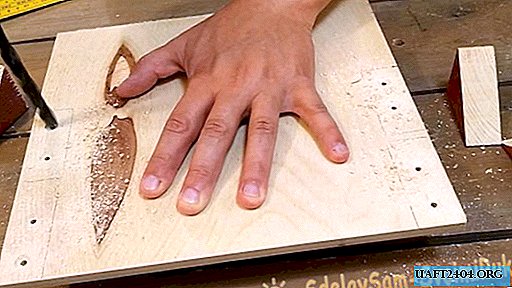
3. We fasten the wooden triangles according to the marking.
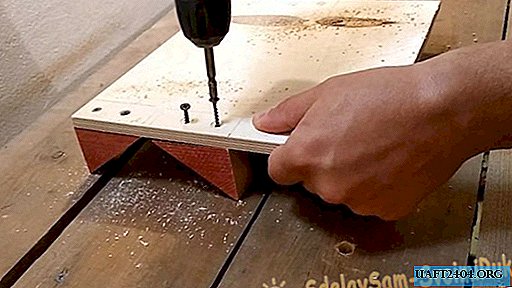
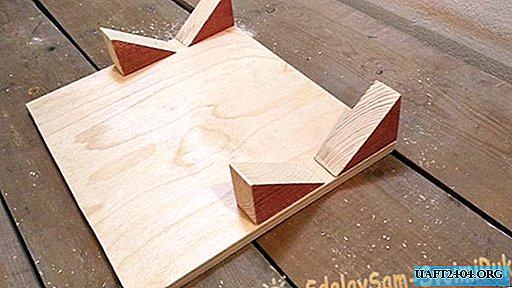
4. On a T-shaped base (carriage) we install racks.
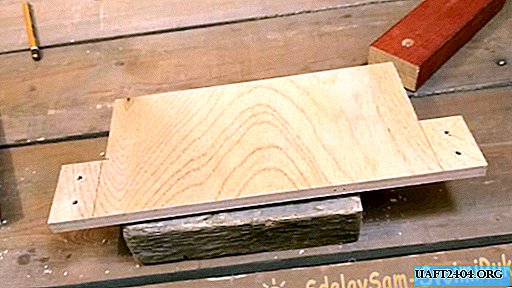
The width of the second base should be equal to the width of the first base, and in the narrow part (zone of the "leg" of the letter T) should be already 62 mm (two widths of triangles from a bar plus a gap of a millimeter to the side).
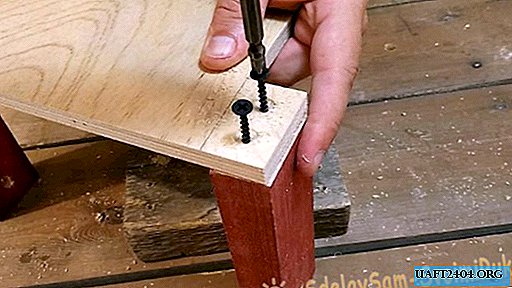
We make fastening in poty with wood screws.
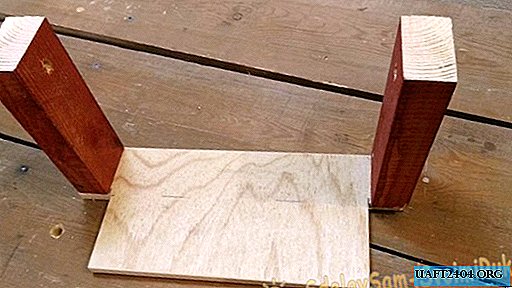
5. From the timber 20x20 mm we perform a limiter. To do this, set both bases to working position and install a block on top.
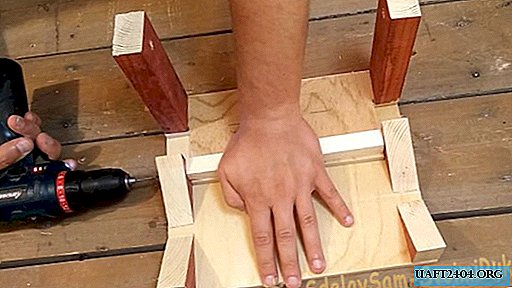
Fastening is carried out with screws in the end of the bar. After installing the stop, it is necessary to check the course of the racks - it should be free.
6. Next, install two plywood slats.
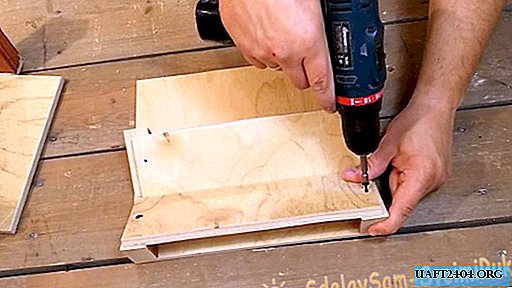
7. And an emphasis for a bottle
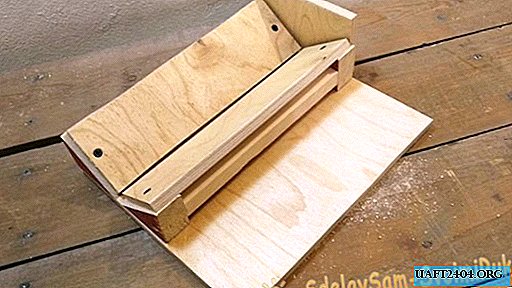
8. Next, we mark on the carriage a groove for fasteners to fix the carriage in a certain position.
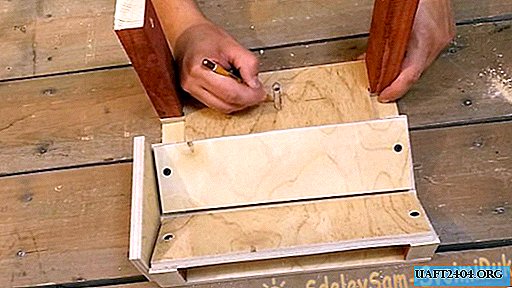
And drill holes at 8 in the extreme positions of the groove.
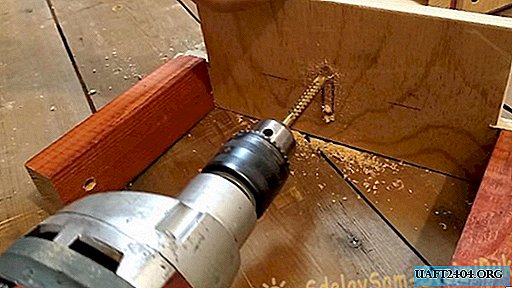
Next, you need to expand the holes to form a groove. I did this with a special milling drill. You can buy this on Ali Express.
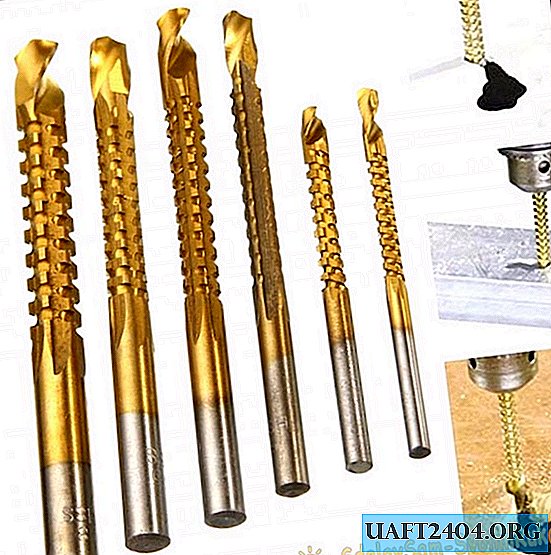
But you can use a jigsaw or, in extreme cases, a file.
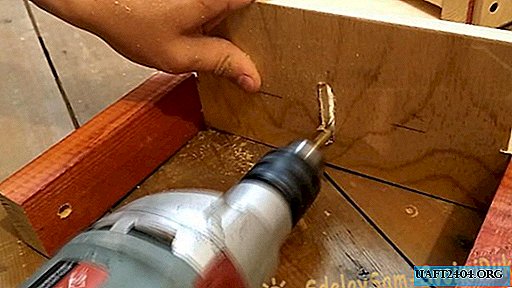
9. When marking the groove on the carriage, two holes were made in the base with a diameter of 6 mm. One of them is technological and will not be useful to us. We drill a hole closer to the bottle tray on the bottom of the tray to a depth of about 3 mm to 10 mm.
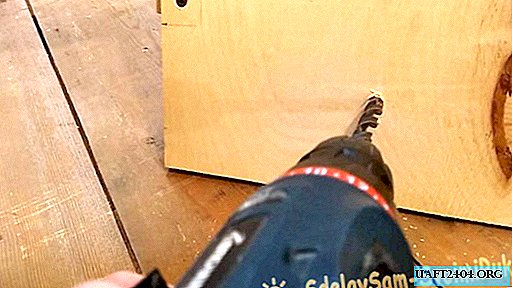
We insert a 30 mm long M6 bolt into the hole.
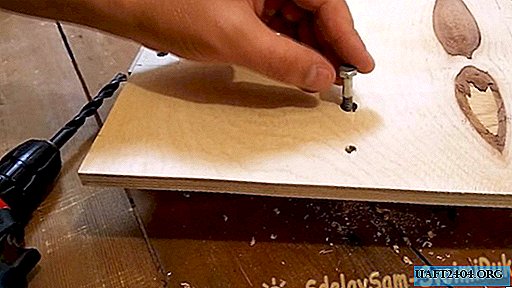
Next, we simply hammer the bolt into the hole for the hammers.
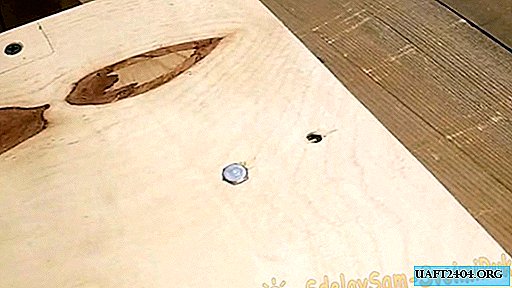
The turnkey size of the M6 bolt is 10 mm, which corresponds to the diameter of the recess in the hole. The edges of the cap of the bolt allow you to install the bolt quite tightly and no additional fastening is required, but nobody forbids you to use the epoxy to fix the fasteners tightly.
10. Install the carriage on the base and fasten it with the washer and wing nut.
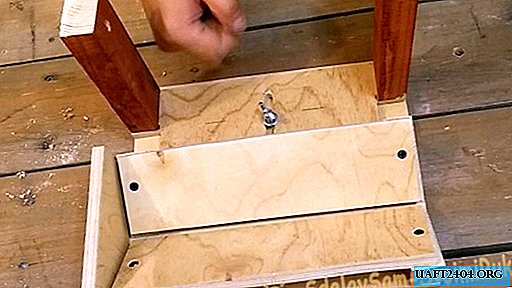
11. Next, we make a holder for a glass cutter from a wooden bar 15x30 mm.
We drill a through hole of 8 mm.
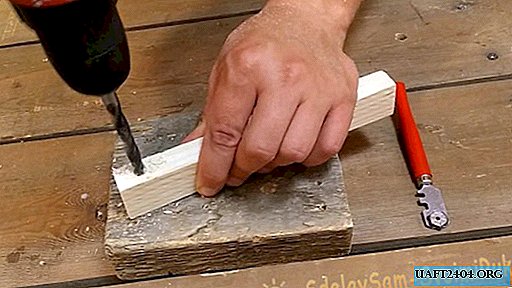
Next, from the opposite end, drill a hole perpendicular to the first hole. The diameter of the hole should match the diameter of the handle of the glass cutter.
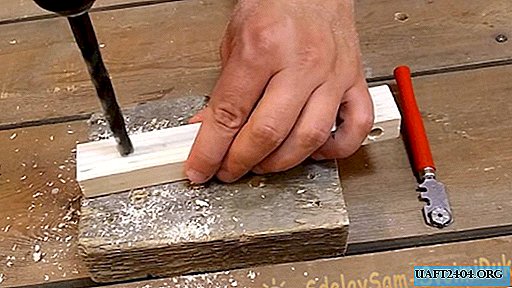
From the end of the holder with a jigsaw, we cut the groove to the hole.
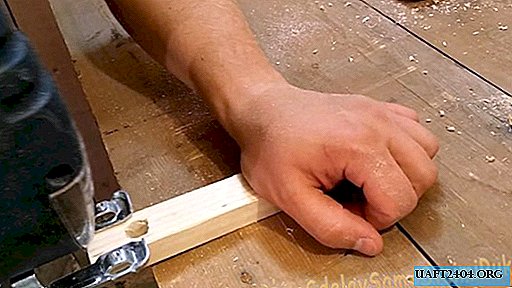
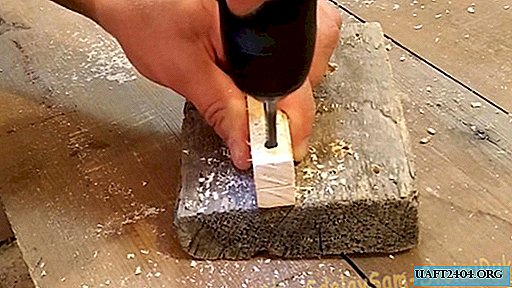
From the same end, parallel to the first hole, we make another 6 mm hole.
We install the glass cutter and use the M6 fasteners to clamp the glass cutter handle in the holder.
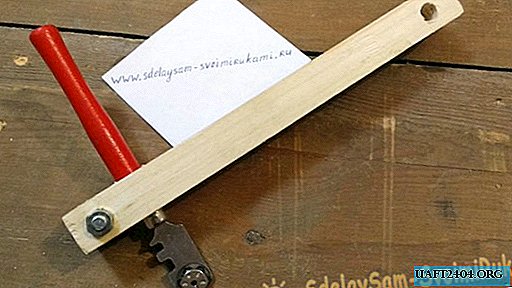
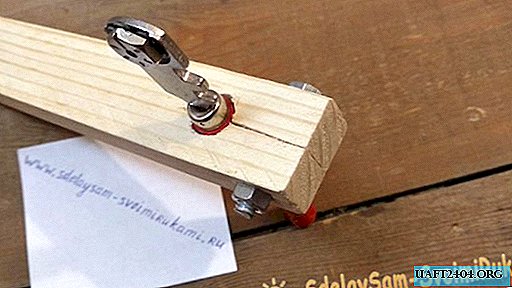
It sits securely.
12. As a guide for the holder, I used the M8 meter pin, from which I cut a piece along the width of the carriage plus 1 cm under the nuts.
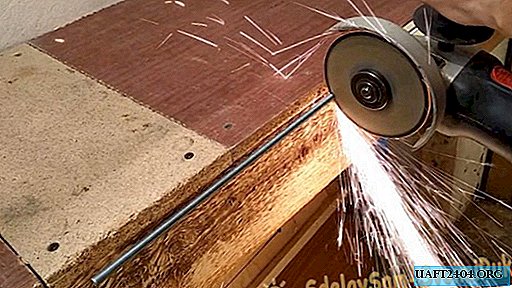
Petal circle on the grinder made bevels.
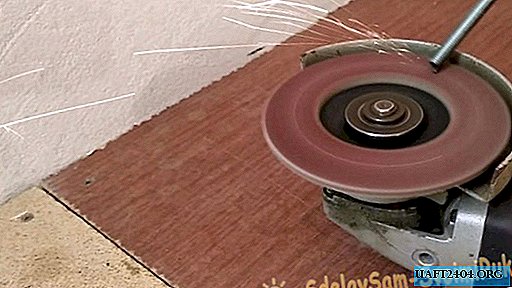
13. Install the pin in the carriage racks. For fixing from the longitudinal displacement of the holder along its edges, M8 nuts are provided.
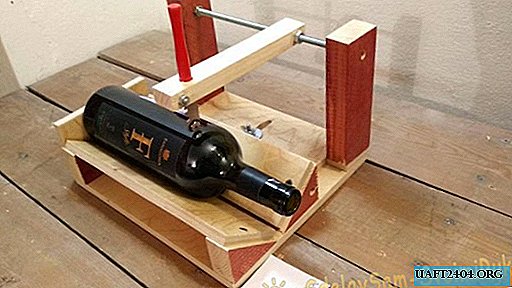
The bottle cutter is ready. Due to the displacement of the carriage along the groove and the possibility of adjusting the position of the carriage, we can cut bottles and cans of various diameters and lengths.
Adaptation of the instructions on how to cut a glass bottle you can find in the video.
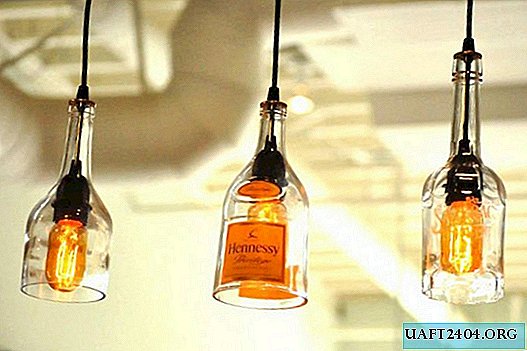
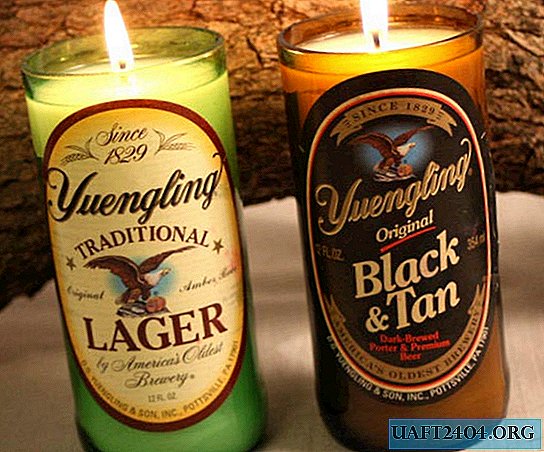
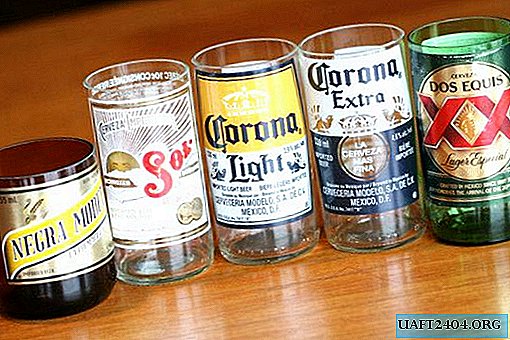
A private question: “Why cut bottles at all?” As a decor, for the manufacture of beer glasses and glasses for whiskey, candlesticks and lamps ... in general, there are a lot of ideas, some of which I will show you below (homemade products are not mine, from the Internet):
Share
Pin
Tweet
Send
Share
Send

