But when using a real projector at home, you can create a real cinema.
There is a third way that I went - to make the projector myself. This article does not have an article, but I’ll still tell you why I decided on this step. In my mind, for several years, my dream was to build my own home theater. And then a girl appeared in my life ... And you can’t even imagine how I had a desire to invite her to watch a movie in a movie. In our seedy town, in addition to numerous pubs, there are no sights and there are practically no, well, we've only heard about cinemas. So I decided to build my own.
In general, whatever the goals would be, let's get started.
Parts and accessories.
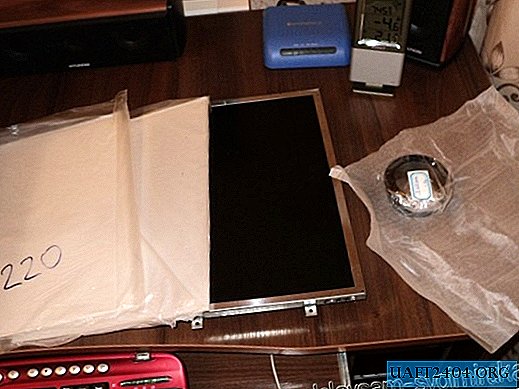
Rummaging through the Internet, I ordered the following with mail delivery: two Fresnel lenses with a focal length of 220 mm and 317 mm, a lens of 80 mm / 1: 4 / FR = 320, and the projector’s heart is an LCD matrix with a diagonal of 15 mm and a resolution of 1024x768.
I ordered a case on the sawmill, designed it myself, so a lot of flaws were revealed during assembly.

Shine. Powerful LED and driver for it. LED power 100 watts. It was all sent straight from China.

Projector assembly
First, let's take a look at the monitor.

And very carefully remove the matrix itself.

On the front of the matrix is an anti-glare film. Of course, you can leave it, but I preferred to remove it, thereby improving the image quality.
It is removed like this: it is wrapped in wet wipes or a towel and left for 10 - 12 hours. Then it is carefully removed.

Functionality check, after removing anti-glare.

Everything is working. Now let's get down to assembling the case.

We adjust the threads on which the matrix and Fresnel lenses will be mounted

We attach the lenses with ordinary screws, the ribbed side of the lens inward.

Yes, I also forgot to say about buying a radiator with a cooler from a computer. I installed an LED on this radiator, smearing the surfaces with heat-conducting paste in front of it for better contact. For reference: a powerful 100 W LED is equivalent in strength to a 400 W metal halide lamp.

We insert and attach the driver and heatsink to the case.

We check and are a little disappointed: our Chinese friends sent a defective LED - one section is off ... Well, okay ... Plus, the driver heats up, and decided to reinstall it.

We scrub our box with lenses, insert the matrix in the middle. The matrix in the image should be rotated 180 degrees relative to the top and bottom and inverted. In other words, where there is a top, there should be a bottom and where is the left edge, there should be a right. This is done so that everything is projected correctly, since the lenses turn the entire image.

We fix it. a lens with a focal length of 220 mm to the LED.

We turn it on and empirically find the place of attachment of our box from the wraps, so that the light on the screen is evenly distributed.


So I got a good picture when projected onto a wall with wallpaper. diagonal of 2.5 meters.


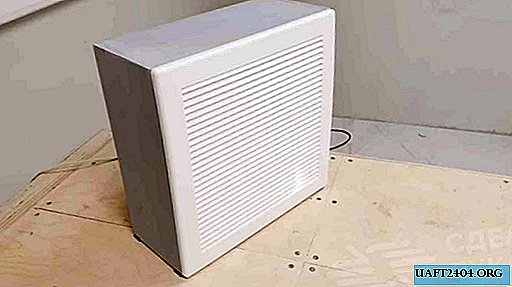
Further continuous settings, removing wires, bringing to mind. As a result, this is what happened.

The result of the projector is when projected onto a regular sheet.


Specially for - www.sdelaysam-svoimirukami.ru there used to be such a design.

It took me two months to build everything and money less than 10 tr. In my worthy. Here you need to do another screen, but more on that later ...
To my deep regret, at the end of the construction of the projector, I was left without a girl, this is not because I built it for so long, but it just happened ...
In any case, the thing you need is useful in the household).
I hope you enjoyed my life-philo-technical article. Thank you for your attention - good luck!

